Cost Classes
- In Dash360, Resource Assignments (RAs) are grouped into Cost Classes. When filling out RAs on the Budget Form, they will all be assigned to the ‘Budget’ Cost Class. Similarly, when Actual Expenses from a Project’s accounting system are imported into Dash360, they are assigned to the ‘Actual’ Cost Class.
- Cost Classes are customizable in Dash360, and generally, they can be thought of as a way to group Resource Assignments. Cost Classes are a great tool to prepare Change Requests, Forecast future expenses, or track Commitments.
Examples:
- Budget
- Actual
- Earned
- Forecast
- Commitments
- Replanned
Adding & Editing Cost Classes
- Cost Classes for a project are found by going to Admin -> Projects -> Edit Project. Then click on the Cost Class tab from the selections at the top of the page.
-
Below the Cost Classes Table, click the orange “Add Cost Class” button.
- Fill in the appropriate information, including the Name, Description, Class Type and Rate File.
- Make sure to click “Save Cost Class” before exiting.

 It is recommended to use the Project’s Default Rate File in most cases. However, you can use an alternative rate file if the purpose of your Cost Class is to perform comparisons between two rate files. See “Copy Cost Class” below.
Copying Cost Class
- The purpose of copying data from one Cost Class to another is often to compare Cost Classes. For example, you could change resource assignments in your new cost class to run a new Cost Class report to understand the effect of those changes.
-
Examples of uses for copying Cost Classes:
- Ex 1: Copy Budget into Change Request Cost Class. Make necessary changes for Change Request, and then analyze using the Compare Cost Classes Report.
- Ex 2: Copy Budget into a second Budget Cost Class, “Budget (Alternative Escalation)” and then use a separate rate file for this cost class with different Escalation Values in the Escalation Rate Set. Use compare Cost Classes Report to analyze new rate file.
- Navigate to Admin -> Projects.
-
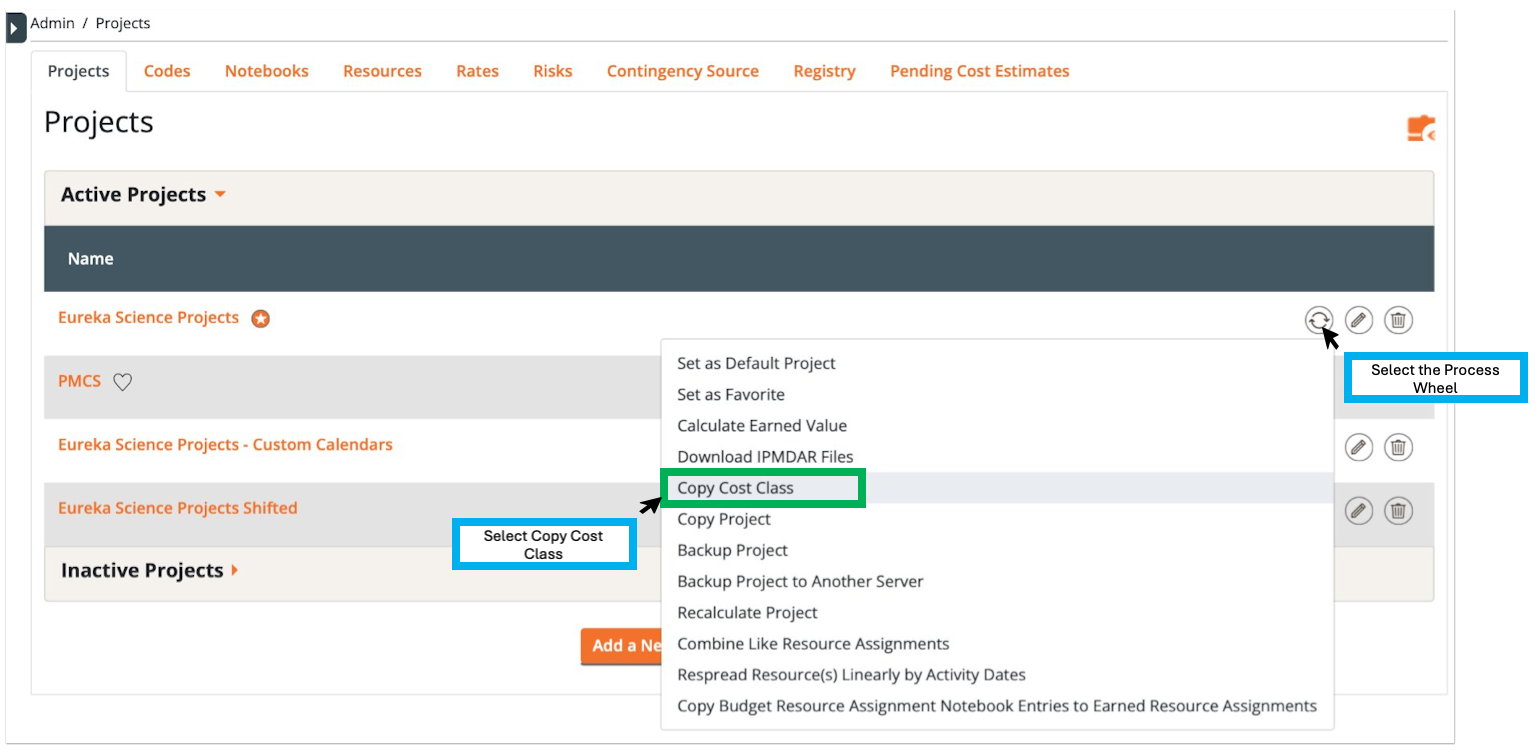
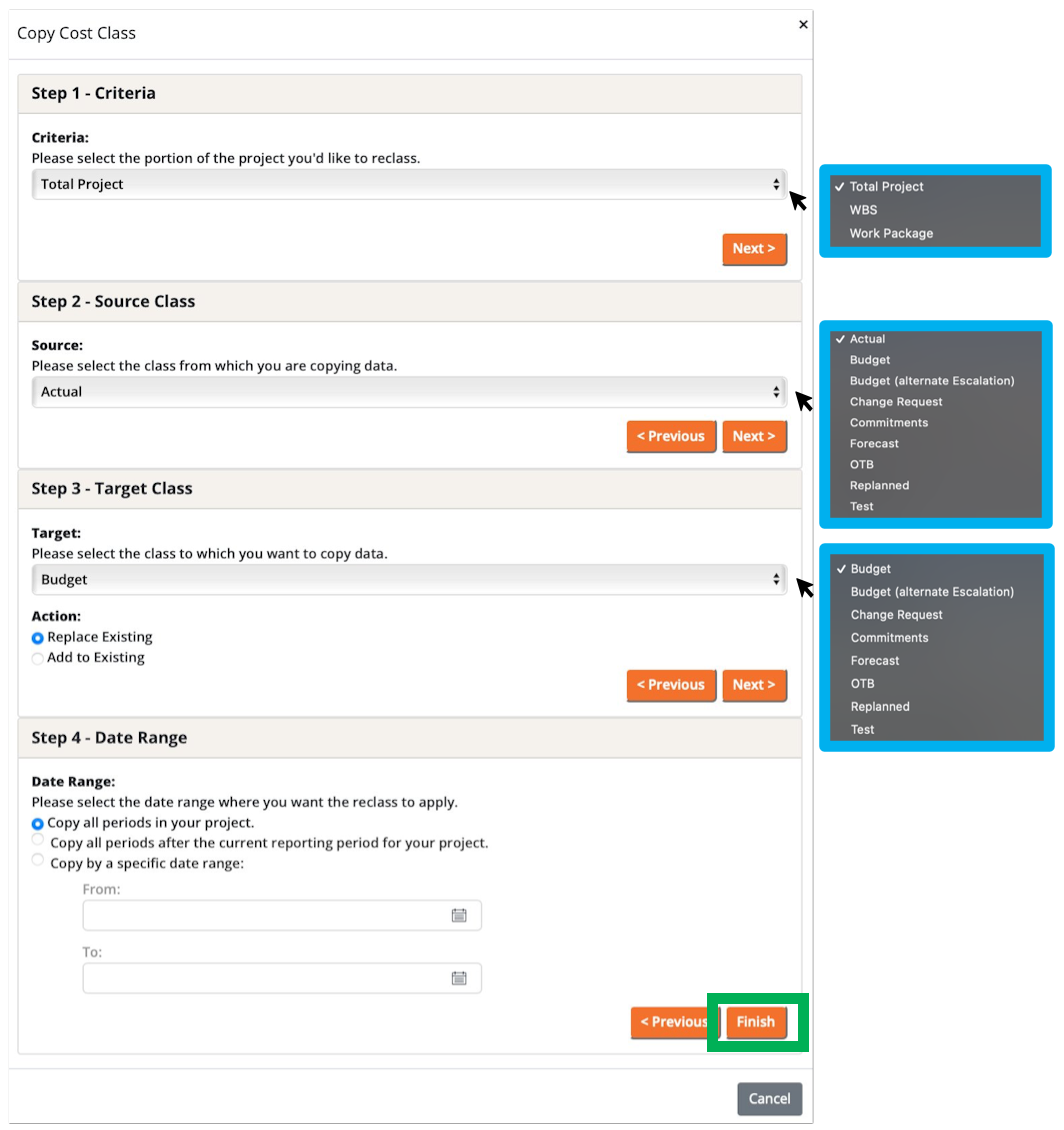
- Select the criteria appropriate for your copy. Click Finish when you are done.
-
Comparing Cost Classes
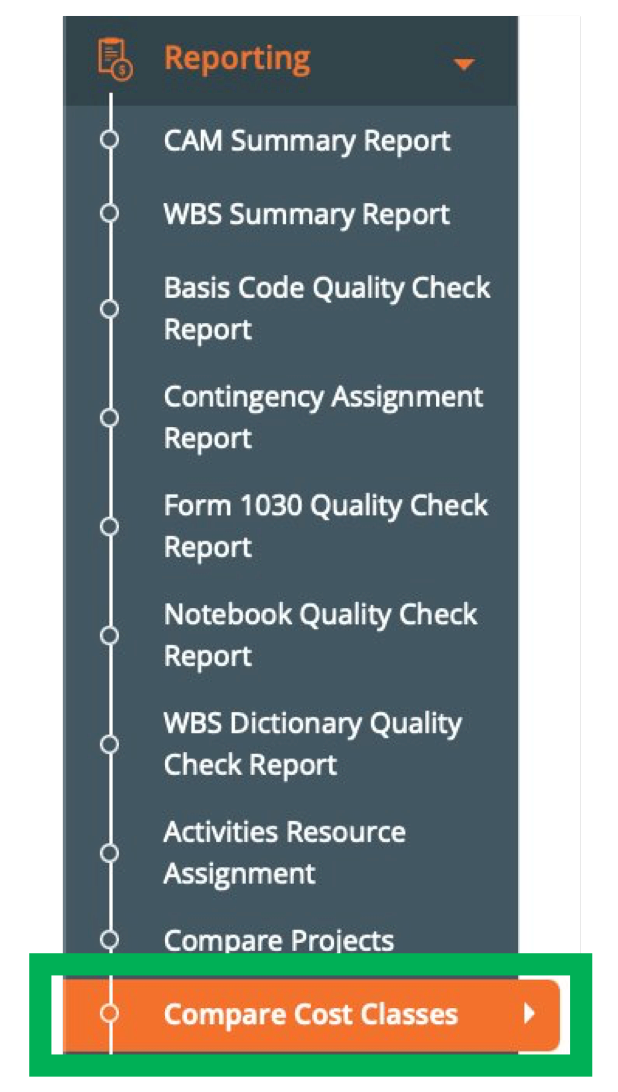
- Once you have copied the Cost Class you can compare Cost Classes. Navigate to Reporting -> Compare Cost Classes.
-
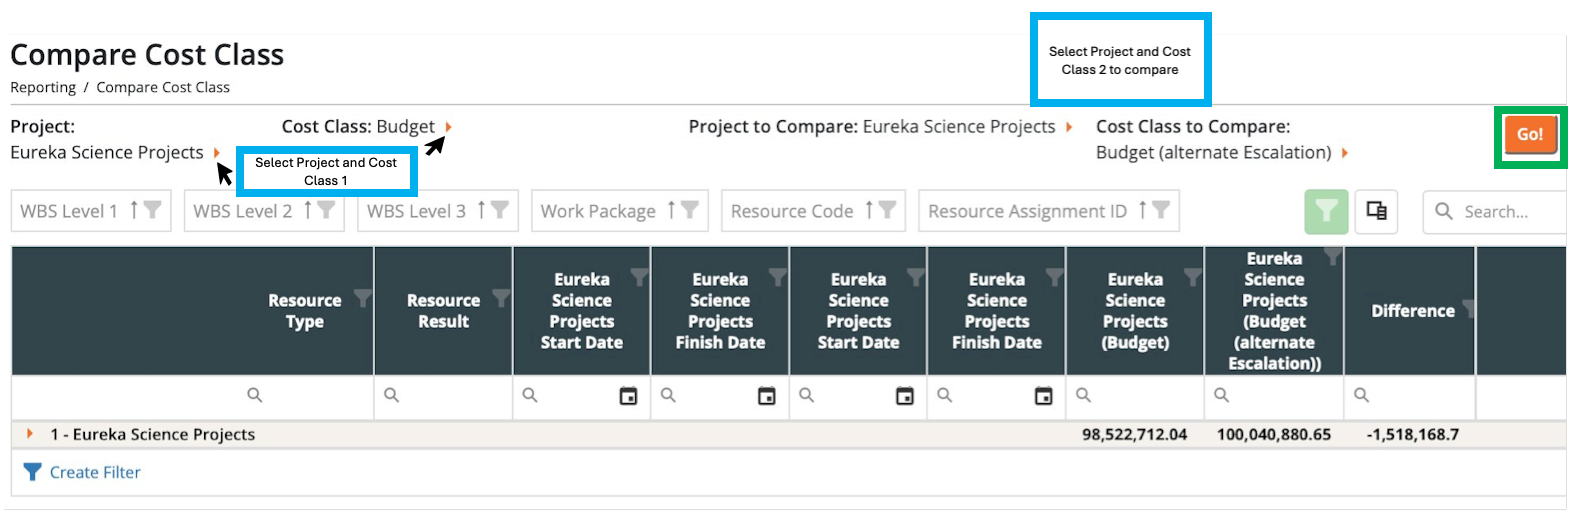
- Select which Project and Cost Classes you will be comparing. Click the Go button to compare the two.
-
Cost Sets
A Cost Set is a grouping of one or more Cost Classes. Examples:- EVMS
- Budget
- Actuals
- Earned
- Actual Expenses & Estimated Actuals
- Actual
- Estimated Actual
- Actuals + Commitments
- Actual
- Commitments
Adding & Editing Cost Sets
- In the same area as Cost Classes, scroll below to view Cost Sets
- Click the orange “Add Cost Set” button.
-
Select which Cost Classes you want to include in the Cost Set using the middle arrows, and add a name and description.
- Make sure to click “Save Cost Set” before exiting.

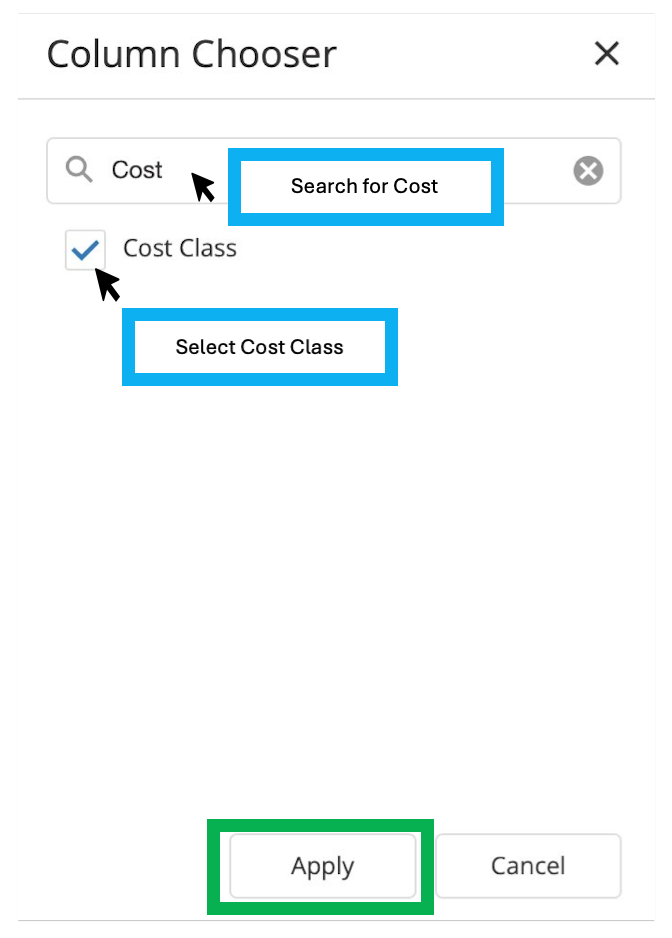
Filtering by Cost Class
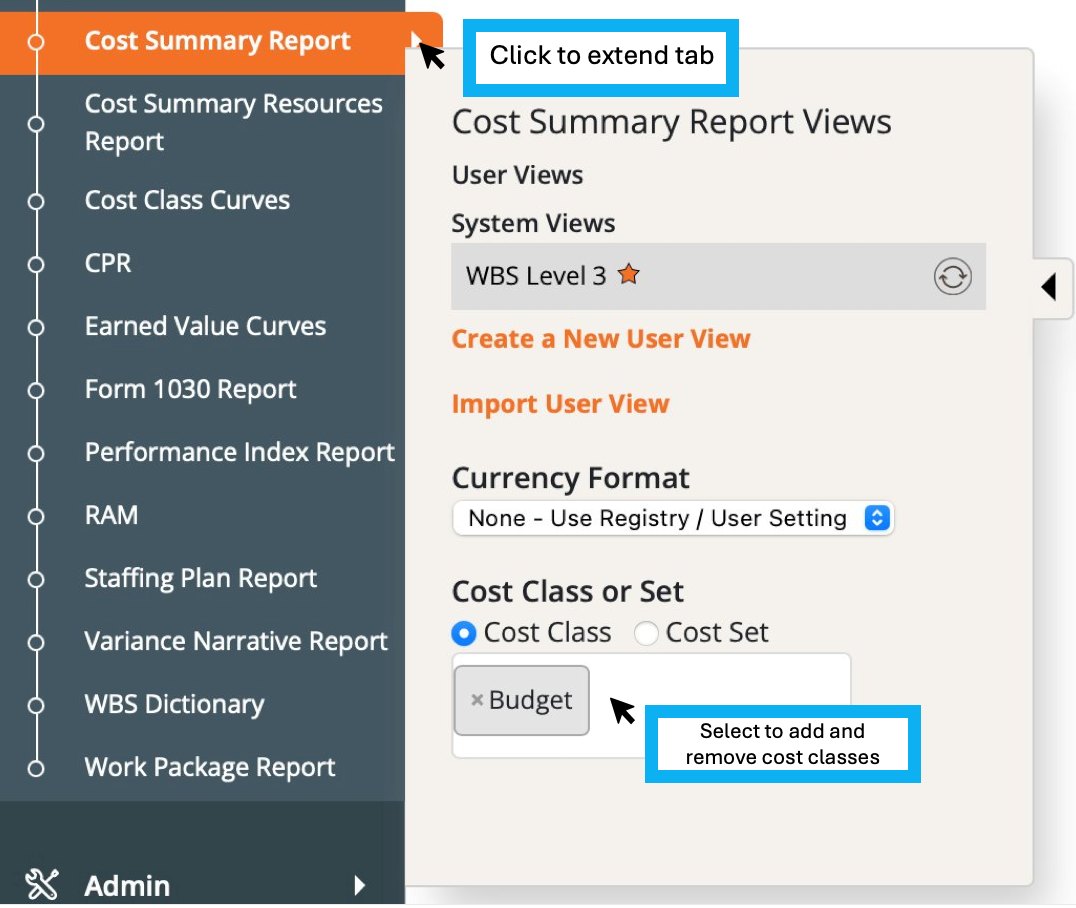
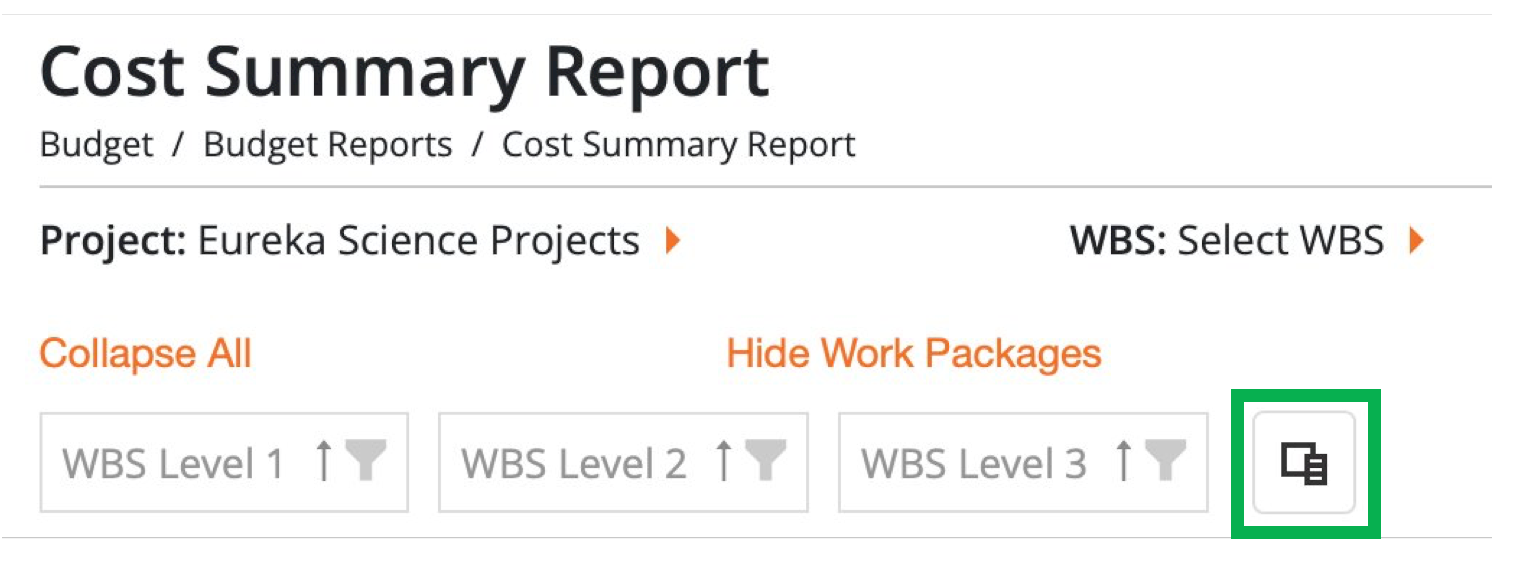
Cost Summary Report: Select Cost Summary Report from drop down menu.
-
-
-
-
Other reports with Cost Class filter include:
- CAM Summary Report
- WBS Summary Report
- Contingency Assignment Report
- Form 1030 Report
- Staffing Report
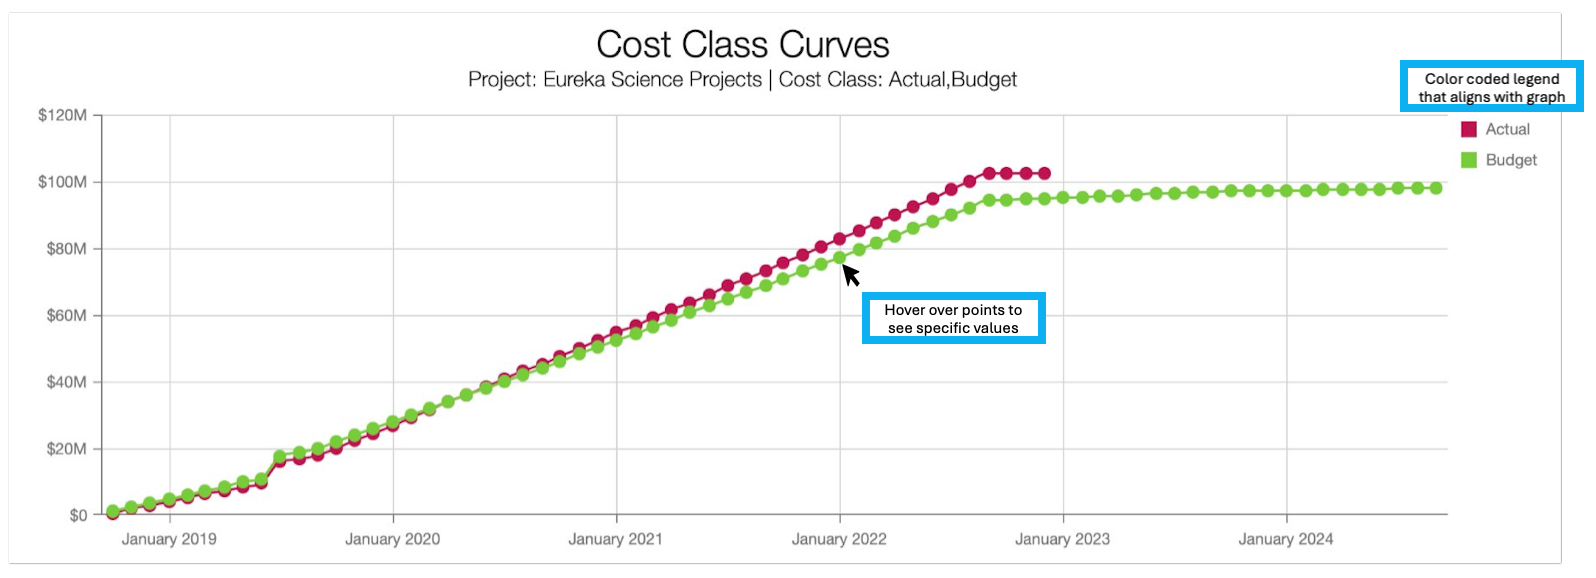
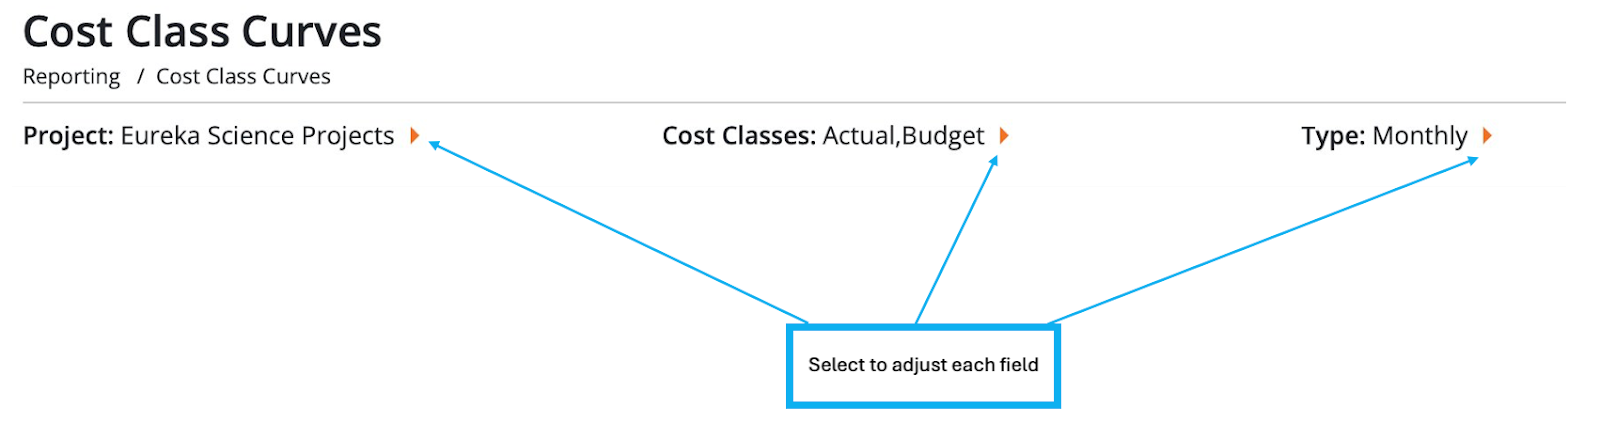
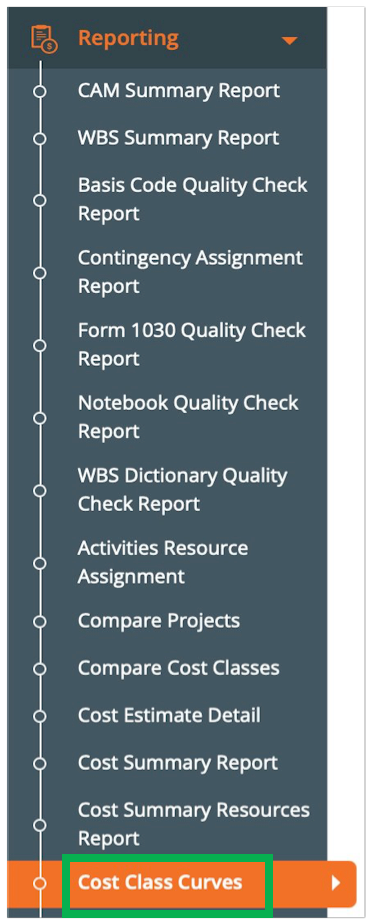
Cost Class Curves
Cost Class Curves are a graphical representation of one or more cost classes over time. Cost Class Curves are found at the bottom of the reporting section of Dash360. Navigate to Reporting -> Cost Class Curves.-
-