

Overview
The Import & Export page handles all data movement into and out of Dash360. The Import tab loads data from Excel files; the Export tab generates Excel files and other outputs, with large exports processed asynchronously via the Lambda export system.Permissions
Administrator role required.Import
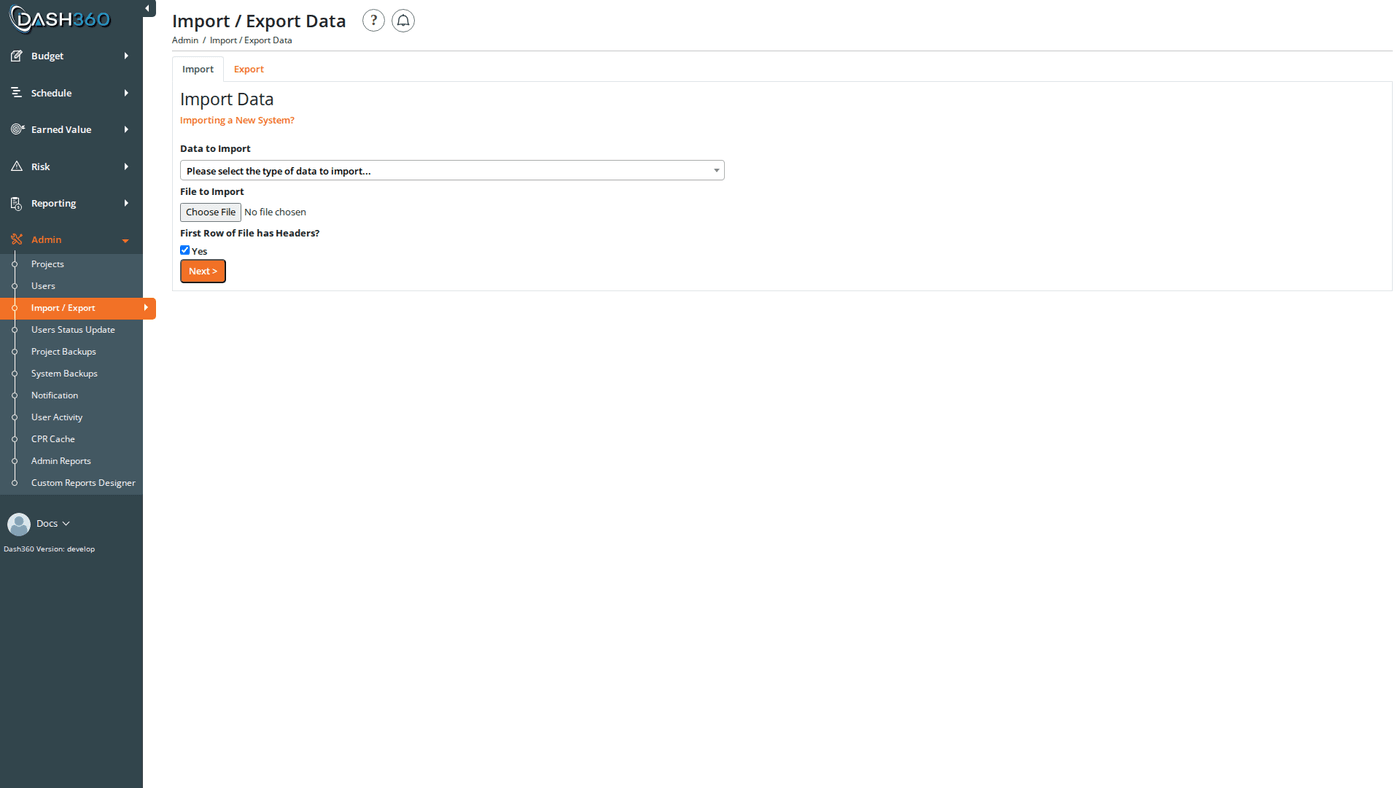
How Importing Works
- Select a data type from the dropdown.
- Download the template: an Excel file with the correct columns and a “Data” worksheet.
- Fill in the template with your data.
- Set the import options (see Import Options below).
- Select your completed file and click Import File. The file uploads to S3, then Dash360 reads the column headers and opens the Field Mapping Modal.
- In the mapping modal, match each database field to the appropriate column from your file, then click Import.
- Review the result message: shows how many records were processed. If any rows fail validation, an error message lists the failures and nothing is committed.
Import Options
Field Mapping Modal
After you select a file and click Import File, the file uploads and the Field Mapping Modal opens. The modal shows a two-column table:
Dash360 automatically pre-selects a column from your file when the column header matches the database field name (case-insensitive). Fields with no auto-matched column are highlighted with a red border; these require manual selection before you can proceed.
For Schedule imports, the modal includes a Custom Fields section below the standard fields. This lets you map custom activity fields from your schedule file that are not standard Dash360 fields. Enter the custom field name and click Add to add a mapping row.
Each custom field value can hold up to 4,000 characters. This is comfortably more than long predecessor or successor lists typically need. If any row exceeds the limit, the import stops without saving anything and the error message names the row number, the custom field, and the length of the offending value so you can shorten it and re-import.
After mapping all fields, click Import to process the file. The modal closes and a success or error message appears.
Import Result
After a successful import, a message shows the number of records processed (e.g., “47 record(s) processed for Resource Assignments”). If the import generates duplicates, a Duplicate Report link appears alongside the success message. Click it to download a report listing all duplicate records that were detected.Actual Resource Assignments; Earned Mapping
When importing Actual Resource Assignments, an additional step follows the standard import: the Earned RA Mapping Screen. This screen appears because each earned (actual) resource assignment must be linked to its corresponding budget resource assignment in the system. For each new earned RA in your file, the screen shows:
For each earned RA, you select which budget RA to link it to using radio buttons:
- Skip: do not import this earned record (selected by default)
- One option per matching budget RA found in the system, showing its ID, description, start/finish dates, total cost, and a note if an earned RA already exists for it (it will be updated)
Click Download to export the full mapping table to Excel for review before finalizing.
Click Map Earned RA to process the selections. The result message shows how many records were imported and how many were skipped.
Import Types
Project Structure
Resources and Rates
Cost Estimates
Schedule
Notebooks and Documentation
Risk and Contingency
User and Security
Financial Reporting
Export
How Exporting Works
- Select a data type from the dropdown.
- Apply any available filters for the selected type (project, WBS, date range, etc.).
- Click Export Data.
- For standard types: the file downloads immediately.
- For Lambda-based types: the export is queued and runs asynchronously. Progress is shown in the notification bell. When complete, the file auto-downloads if you are still on the Export page.
Export Filters
Available filters depend on the selected export type. Filters appear dynamically when you choose a data type. File-based filters (Resource File, Code File, Rate File, OBS Code File, Contingency Source) default to showing only active files. Click Show All next to the filter label to include inactive files.Reporting Export Filters
The Reporting export type has an extended filter set:Standard Exports
All import types are also available as exports. Select the data type and apply available filters, then click Export Data to download the file immediately as an Excel (.xlsx) file.Special Export Formats
In addition to the standard data type exports, several specialized export formats are available:Lambda Export System
The following export types are processed asynchronously by the Dash360 Lambda export system:- Risk Categories
- Risk Types
- Premium Pay
- Resource Results
- Risk ID Prefixes
- Holidays
- The request is queued and a job entry immediately appears in the Recent Exports grid below.
- A progress notification appears in the notification bell (top navigation).
- The job processes in the background; you can navigate away from this page.
- When the export completes, the notification updates and the file auto-downloads if you are still on the Export page.
- The completed file is available in the Recent Exports grid for download at any time.
Recent Exports Grid
Selecting a Lambda-based export type shows the Recent Exports grid filtered to that type. The grid shows the 10 most recent jobs, with Previous/Next pagination.
The grid updates automatically via real-time notifications (SignalR) as export jobs progress.
The Download button uses a pre-signed S3 URL that is generated fresh each time you click it. If the file was just completed, the button automatically retries up to 3 times with a short delay to allow the file to become available in S3.
If an export shows as Failed, verify the project has data for the selected export type. Contact your administrator if failures persist; it may indicate a Lambda connectivity issue.