Overview
Notebooks are Dash360’s structured documentation system. A notebook category is a named field that appears on a specific type of record; a WBS element, a work package, a resource assignment, a control account, or a risk register entry. Project teams use notebook entries to capture assumptions, justifications, references, and any other narrative content that belongs alongside the estimate data. Administrators create notebook categories here and then assign them to projects in Project Settings. Each project can have its own set of categories, or projects can share categories.Permissions
Administrator role required.Where Notebooks Appear
Notebook entries can be attached to five types of records:
Assignment to entity types is done per-project in the Notebook Fields tab of Project Settings. A single notebook category can be assigned to projects as any entity type.
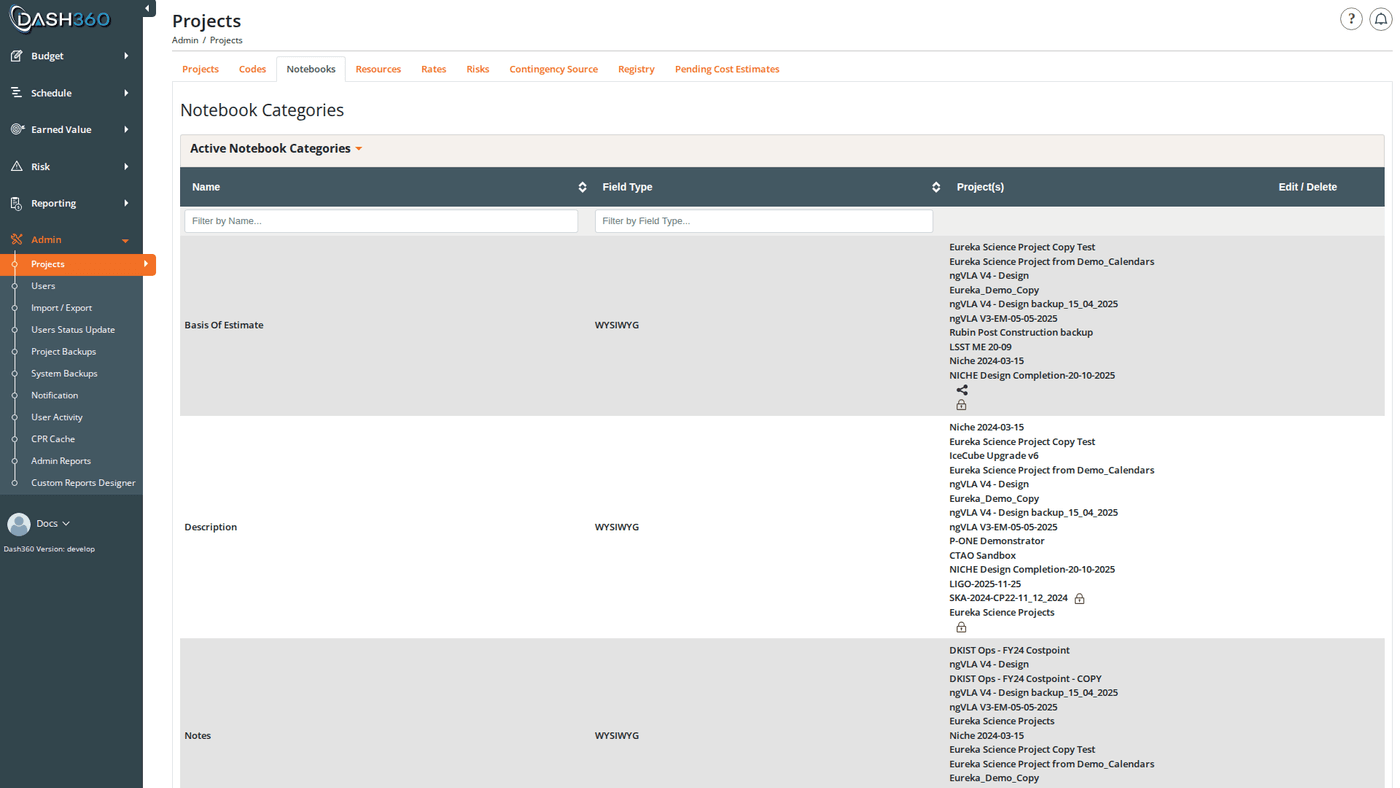
Notebook Category List
The Notebooks page displays all categories in two collapsible sections:- Active Notebook Categories: categories assigned to at least one active project
- Inactive Notebook Categories: categories not assigned to any active project
Notebook Category Fields
Field Types
The Field Type determines how the notebook entry input is rendered wherever the category appears:
For Radio, Checkbox, and Dropdown types, the selectable choices are defined by adding Notebook Options to the category (see below).
For the Codefile type, the choices come directly from the assigned code file; no options need to be added manually.
Creating a Notebook Category
- Click Add Notebook Category.
- Enter a Name (required, must be unique).
- Select a Field Type.
- Optionally enter Help Text to guide users filling in the field.
- If Field Type is Codefile, select the code file from the Code File dropdown.
- Click Save and Close or Save and Add Another.
- If the Field Type is Radio, Checkbox, or Dropdown, add the selectable options next (see Notebook Options below).
- Assign the category to projects via the Notebook Fields tab in Project Settings.
Editing a Notebook Category
Click the Edit (pencil) icon on any category row. The same modal opens pre-filled. Editing the name, field type, or help text takes effect immediately; existing entries users have saved are preserved, but the field’s presentation updates across all projects using the category.Deleting a Notebook Category
Click the Delete (trash) icon on any row and confirm the prompt. Deletion removes the category definition and all entries users have saved under it across every project that uses the category. Affected projects’ reporting tables are resynced automatically in the background.Notebook Options
For categories with Field Type Radio, Checkbox, or Dropdown, you must define the selectable choices. These are called Notebook Options.Viewing Options
Click the Modify Field Options link in the Field Type column of any Radio, Checkbox, or Dropdown category. This expands an Options panel below the main list showing all defined options for that category.Option Fields
The options grid in the panel shows: Name, Description, Order, Project(s), and Edit/Delete buttons.
Adding an Option
- Click Modify Field Options on the category row to expand the Options panel.
- Click Add Option in the panel.
- Enter the Name, optional Description, and optional Order.
- Click Save and Close or Save and Add Another.
Editing and Deleting Options
Click the Edit or Delete icon on any option row in the panel. Deleting an option removes it as a choice; existing entries that selected this option are cleared.Option names cannot contain commas. If you paste text containing commas, they are automatically stripped.
History Tracking
When history tracking is enabled (controlled by theEnableHistoryTracking registry setting), a History icon appears on each category row. Click it to see a full audit trail of:
- Category creation, edits, and deletion
- Option creation, edits, and deletion
Shared Notebook Categories
A notebook category can be assigned to multiple projects. When a category is shared:- Any change to the category name, field type, or help text affects all projects using it
- Any addition or removal of options affects all projects using it
- The Shared icon appears on the category row
Shared categories are efficient for maintaining consistency (e.g., a standard “Basis of Estimate” field across all programs), but changes are global. If you need a project-specific version, create a separate category with a different name.