

Overview
The Registry is Dash360’s configuration system. Registry Sets are named collections of settings (feature flags, display options, system parameters, and module-level controls) that get assigned to projects. When a project’s behavior needs to change (for example, to enable cost class locking, show the Form 1030 fields, or control which Budget Form sections are visible), the change is made here in the Registry. Each project is assigned one Registry Set in Project Settings. Multiple projects can share the same Registry Set.Permissions
Administrator role required.Registry Set List
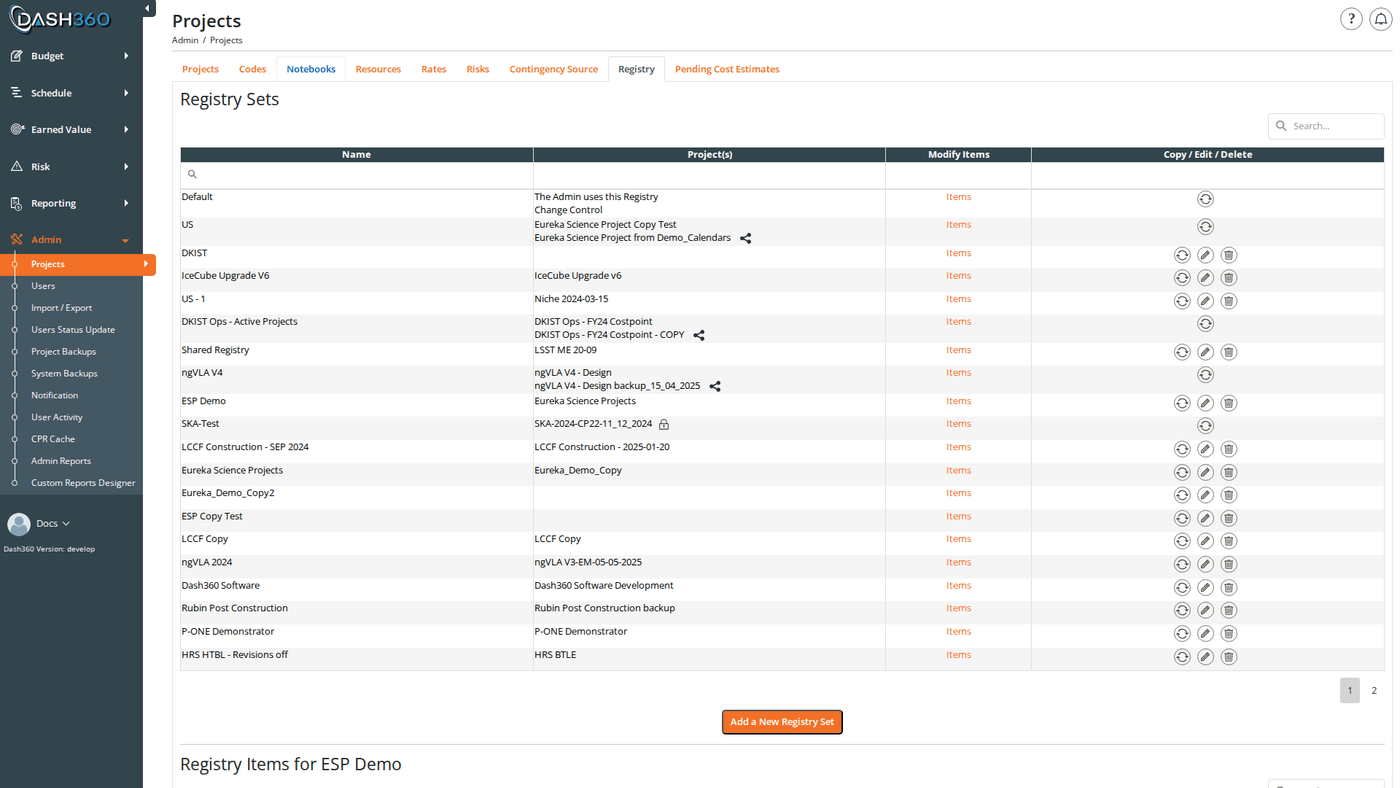
The Registry page displays all Registry Sets in a DevExpress grid with a search panel and filter row. Each row shows:The Default Registry Set (ID = 1) is the system baseline. It is used by the admin interface itself and is the fallback for any project whose assigned registry set is deleted. The Default set can only be Copied: it has no Edit or Delete buttons.
Registry Set Fields
Registry Sets have no description field: the name alone identifies them.
Creating a Registry Set
- Click Add a New Registry Set.
- Enter a Name.
- Click Save & Close or Save & Add Another.
- The set is created with a full copy of all default registry item names and values. Edit individual items next.
Editing a Registry Set
Click the Edit icon on any non-Default registry set row. You can update the name only. Registry item values are edited separately through the Items panel.Copying a Registry Set
Click the Copy (process) icon on any row. Enter a name for the new set and confirm. The copy includes all registry items with their current values. Use this to start from a known-good configuration and adjust for a new program or client.Deleting a Registry Set
Click the Delete icon on any non-Default row. A confirmation dialog lists which projects are currently assigned to this set. If you confirm, those projects are automatically reassigned to the Default Registry Set.Registry Items Panel
Click the Items link on any Registry Set row to expand the Registry Items panel below the list. The panel heading shows the name of the selected registry set and displays all of its settings in a grid.Registry Items Grid Columns
The Edit button in the items grid is hidden when the registry set is assigned to a locked project or shared across multiple projects. To make changes, either copy the registry set and assign the copy to the affected project, or remove the sharing/unlock the project first.
Editing a Registry Item
Click the Edit icon on any item row. The edit modal opens with:- Name: read-only; the item key cannot be changed
- Value: editable; the input type depends on the setting:
After editing, click Save (no Save & Add; only one item is edited at a time). Changes take effect immediately for all projects using this Registry Set.